20150505: Work in progress (throughout the course)
Content:
Introduction
Here we will collect some information regarding use of our software (during tutorials or when using it on your own) that is particular to the setup during RapiData 2015.
We will try and keep this page here up-to-date as we get settled in during the course.
Tutorial schedule
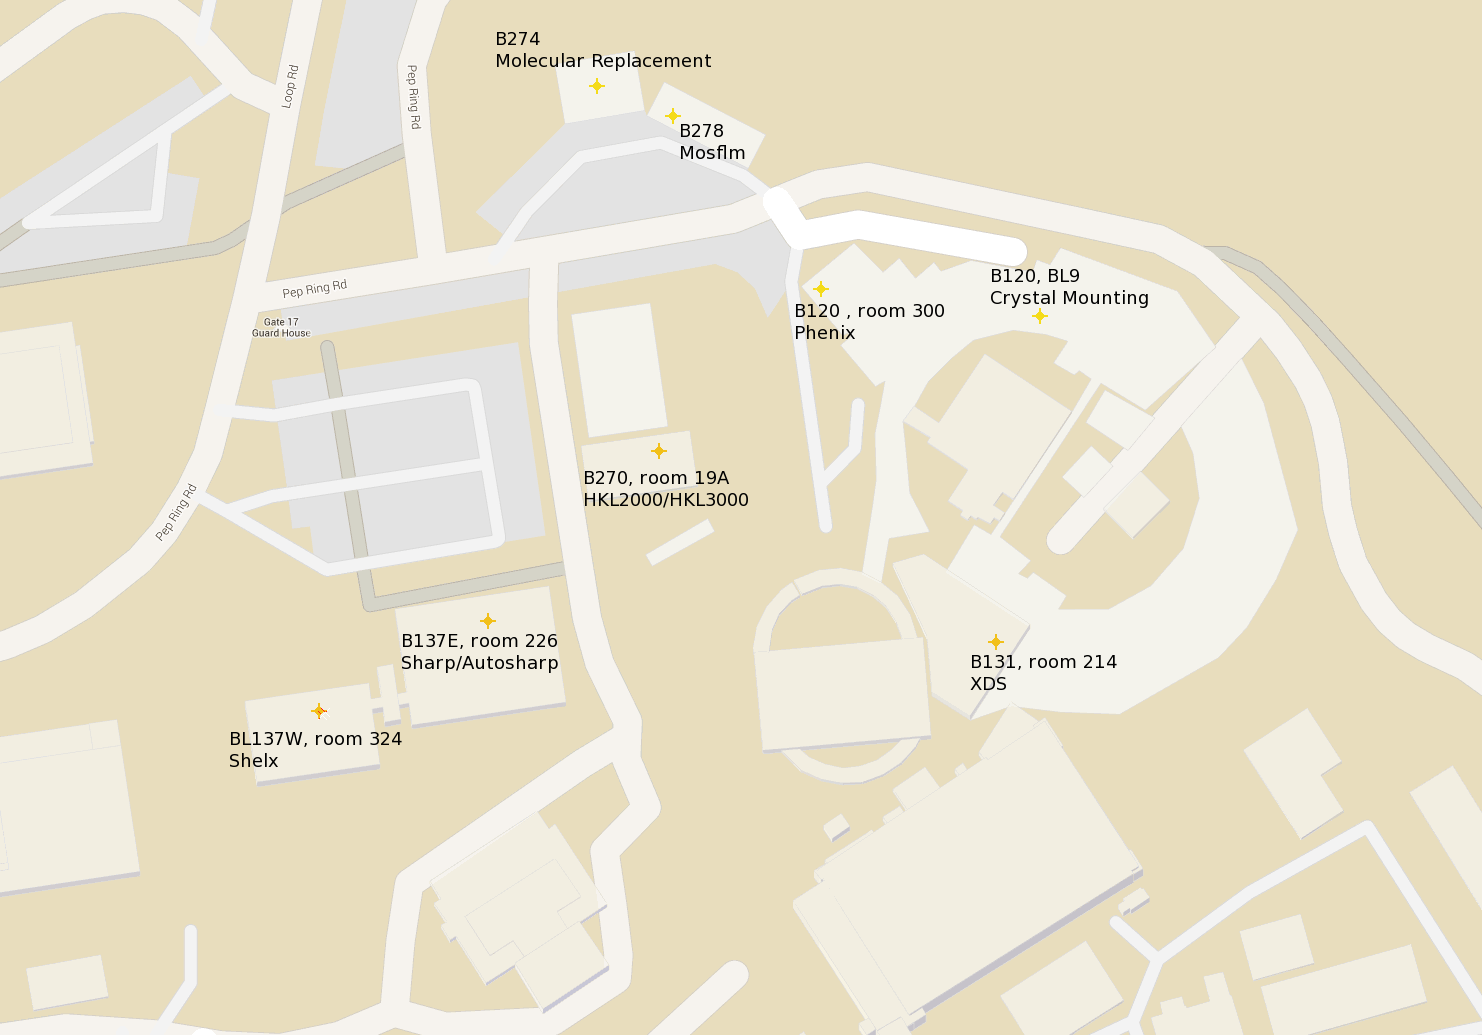
We are giving tutorials on autoPROC (data processing) and SHARP/autoSHARP (experimental phasing and structure solution - see here) in Building 137E 2nd floor, room 226 - see this map.
Please use the sign-up sheets outside the lecture hall so that we can plan the tutorials. But otherwise: just find us and talk to us at any time during the course (coffee/lunch breaks are a good opportunity) - especially if you are interested in discussing data collection strategies for experimental phasing before doing the actual experiment!
Setup
If you can type
% process -h
in a terminal (and it comes back with the help message), then everything should be setup correctly. You might want to have a printout of the autoproc_reference_card.pdf handy to help with usage.
1o22
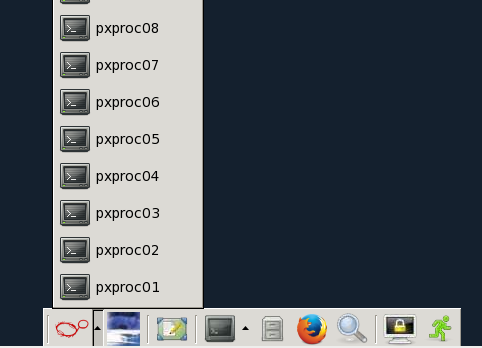
If you don't have your own data yet, there is a dataset available at /data/rapidata/1o22 - which is used in an online tutorial you can work through. The easiest is to first select a processing node
 |
from the list
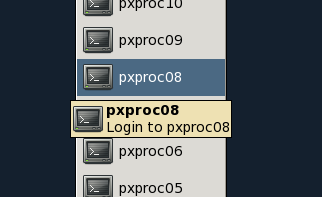
 |
Once selected
 |
it should open a terminal
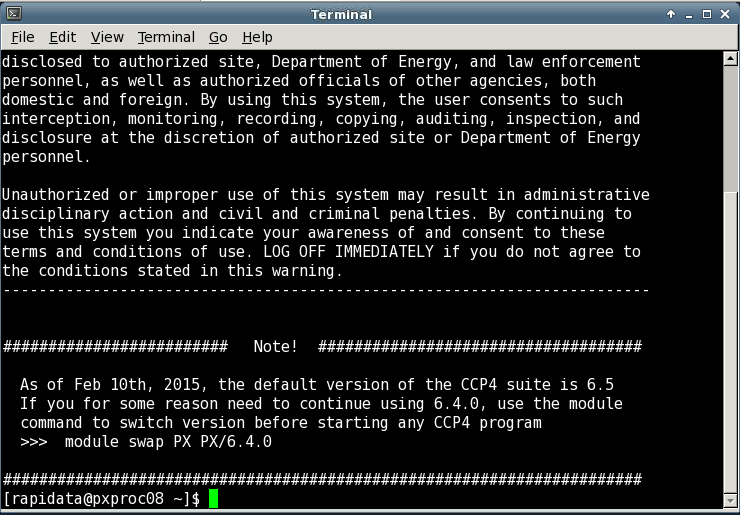 |
NOTE: you might actually want to open two terminals on the same processing node at the same time: this way you can run autoPROC in one terminal and do something else (e.g. look at intermediate results) in the second terminal.
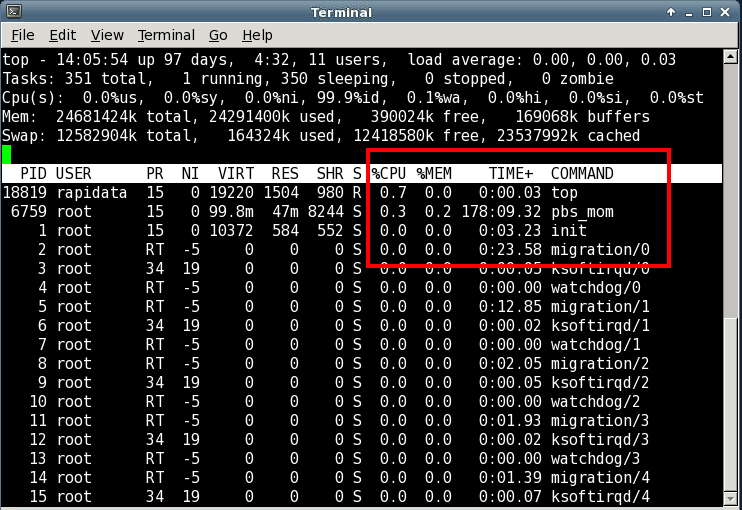
You can check how much that particular machine is currently used with the "top" command (use "q" to get out of it again)
 |
Your processing job will run fastest if nothing else is running
 |
Then run autoPROC by first creating a separate directory (the % character just symbolises the command prompt in the terminal and should not be typed):
% mkdir -p /data/rapidata/YourOwnName/autoPROC
% cd /data/rapidata/YourOwnName/autoPROC
Then run eg
% process -I /data/rapidata/1o22 -d 01 | tee 01.lis
which will take images from directory /data/rapidata/1o22, write all output into the subdirectory 01 and save standard output into file 01.lis. In a second terminal you should be able to look at some intermediate results as reported by the processing job.
A detailed description of processing 1O22 written for a different course is here.