Under construction (throughout the workshop)!
Please also check the autoPROC wiki and the autoPROC tutorial page there.
Content:
- Introduction
- Local setup
- Examples
- 1o22 (written for Montevideo 2013 course)
- Working on your own data
Introduction
Here you will find hopefully useful information for the RapiData 2013 course at NSLS/BNL (21st - 26th April 2013). It should enable you to run SHARP/autoSHARP on data collected during the course as well as previously collected datasets you might have brought.
If you are new to Linux or the command-line, here are some maybe useful links for learning:
Local setup
You should be setup to use SHARP/autoSHARP in two supported ways:
Using SHARP/autoSHARP through our httpd-based interface
Typing in a terminal
% sharp
should write out a bit of information and (ideally) connect to the local SHARP/autoSHARP server through your 'firefox' browser. Sometimes that last bit doesn't quite work - in which case you just need to connect to http://localhost:8081/. The username/password required to connect should be given in your terminal too.
This is what we will be using in the tutorials (since it gives us the maximum control and features).
CCP4i GUI
There is an interface to autoSHARP distributed with CCP4 in the "Experimental Phasing" section
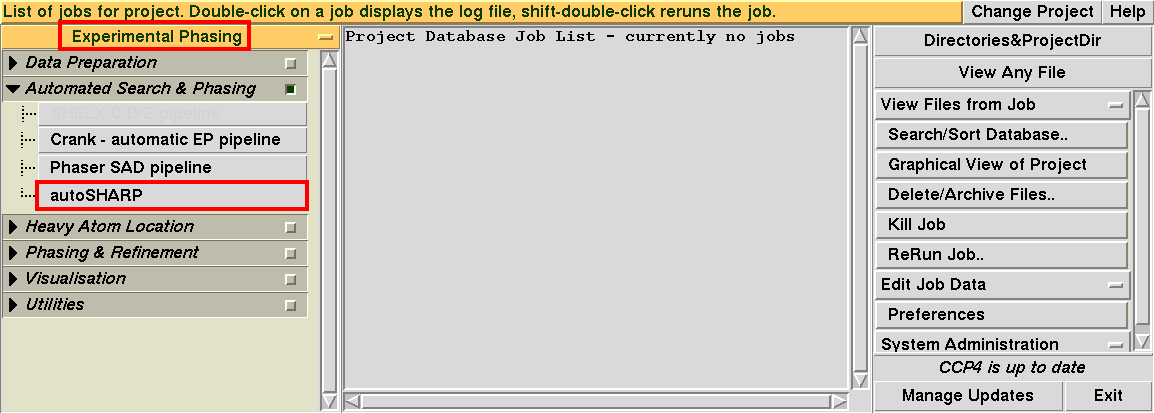
This might be the easiest way of getting started on your own - especially if you are familiar with CCP4i.
Working on your own data
You should have a reflection file (MTZ or SCA format), a sequence file and (for anomalous data) a fluorescence scan. Upload the reflection and sequence file into the interface (using the "Upload" tool on the main SHARP control panel).
One usually always starts with running autoSHARP to get going: it will
- do some extensive analysis of data and heavy atom signal
- tries to find the heavy atoms (using SHELXC/D)
- refines, phases and completes this intial heavy-atom model
- determine correct enantiomorph
- perform density modification (using SOLOMON)
- attemps initial model building (with BUCCANEER and ARP/wARP)
This often works very well - but for difficult cases it might be necessary to fine-tune parameters: in that case the infrastructure and intermediate results created by autoSHARP are a very good starting point for adjusting the various steps involved in experimental phasing.