| Attachments | |
|---|---|
| 1o22.pir | 206B |
| 1o22_autoSHARP_1.png | 193K |
| autoSHARP_DLS_1.png | 275K |
| 1o22_peak.sca | 543K |
| 1o22_autoSHARP_2.png | 278K |
After the autoPROC tutorials you should be getting fairly familiar with the Linux (or MacOS) terminal, shell and command-line. You will also not be surprised, that we usually run SHARP/autoSHARP through the command-line (although there is a graphical user interface in the old CCP4i available and originally we had a web-based system right from the start in 1997, similar to CCP4Cloud).
We are going to run autoSHARP in these tutorials: the actual SHARP program (able to describe a much wider range of possible phasing situations - from anisotropy of anomalous scattering to site-specific radiation damage etc) is only ever used for somewhat unusual cases (nowadays).
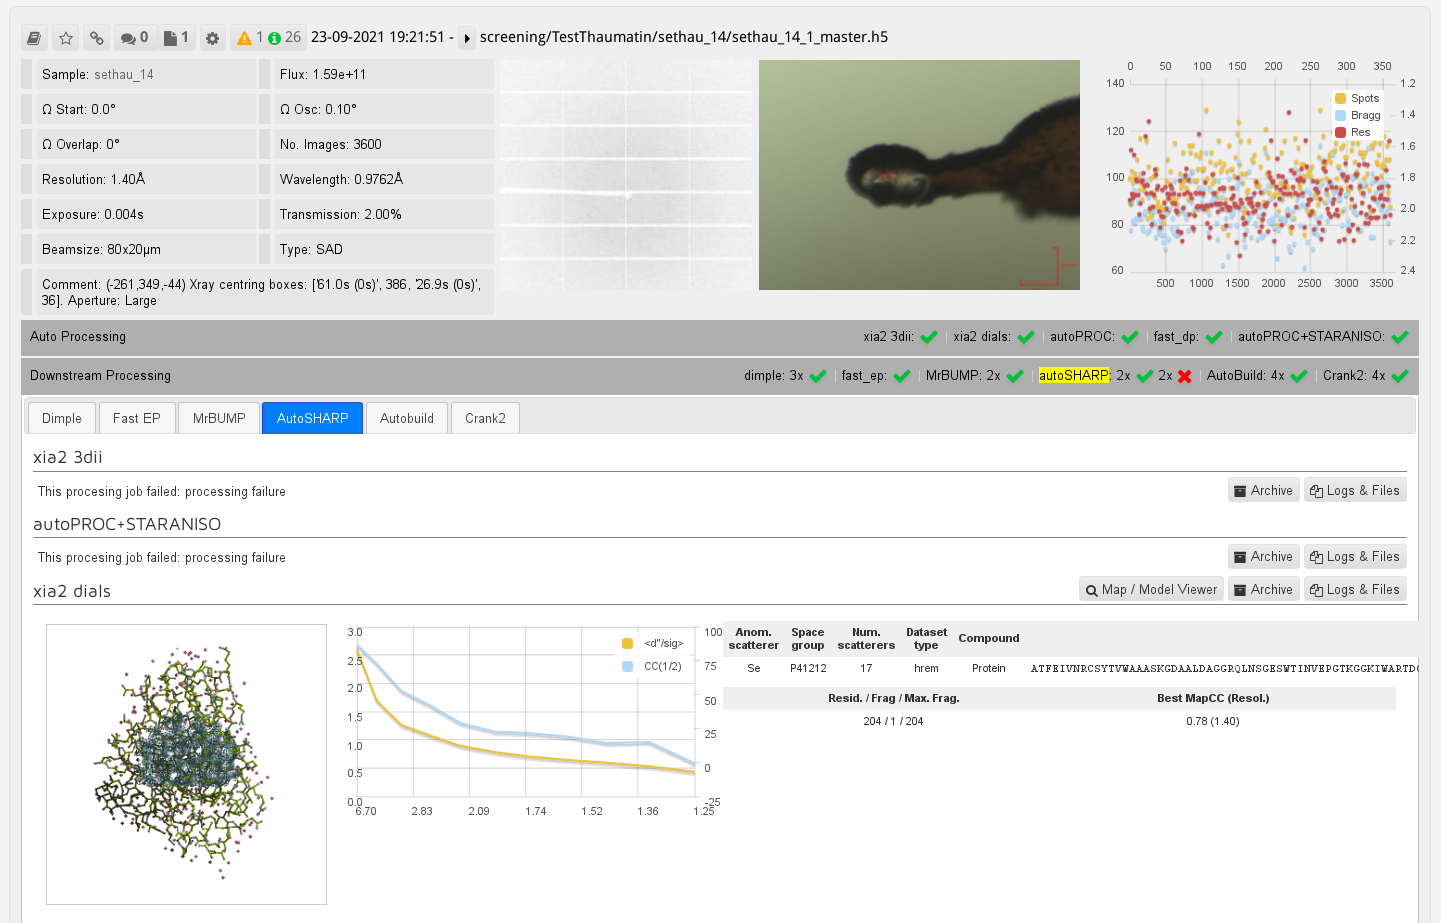
You will find automatically triggered autoSHARP results also on the DLS systems via ISPyB:
 |
You should be able to run
run_autoSHARP.sh -hand see the autoSHARP reference card via
evince $SHARP_home/docs/sharp/manual/autosharp_reference_card.pdf
If you want to install the software on your own computer, please see here.
We have a large number of different examples available on the wiki. Here we will be looking at one simple SAD example to get you familiar with running the software and interpreting the output.
You should be able to run the following to first copy some relevant files over:
cp /dls/i04-1/data/2021/mx29507-1/processing/ClemensVonrhein/Tutorials/SHARP/1o22* .(if you are working on your own computer, you can download the files here: 1o22.pir and 1o22_peak.sca).
We can then run autoSHARP on that Se-MET SAD example with
run_autoSHARP.sh -nowarp -seq 1o22.pir -ha "Se" -wvl 0.9778 peak -7 5 -sca 1o22_peak.sca -d autoSHARP_SAD-1 | tee autoSHARP_SAD-1.lis
Let's look at that comand-line in detail:
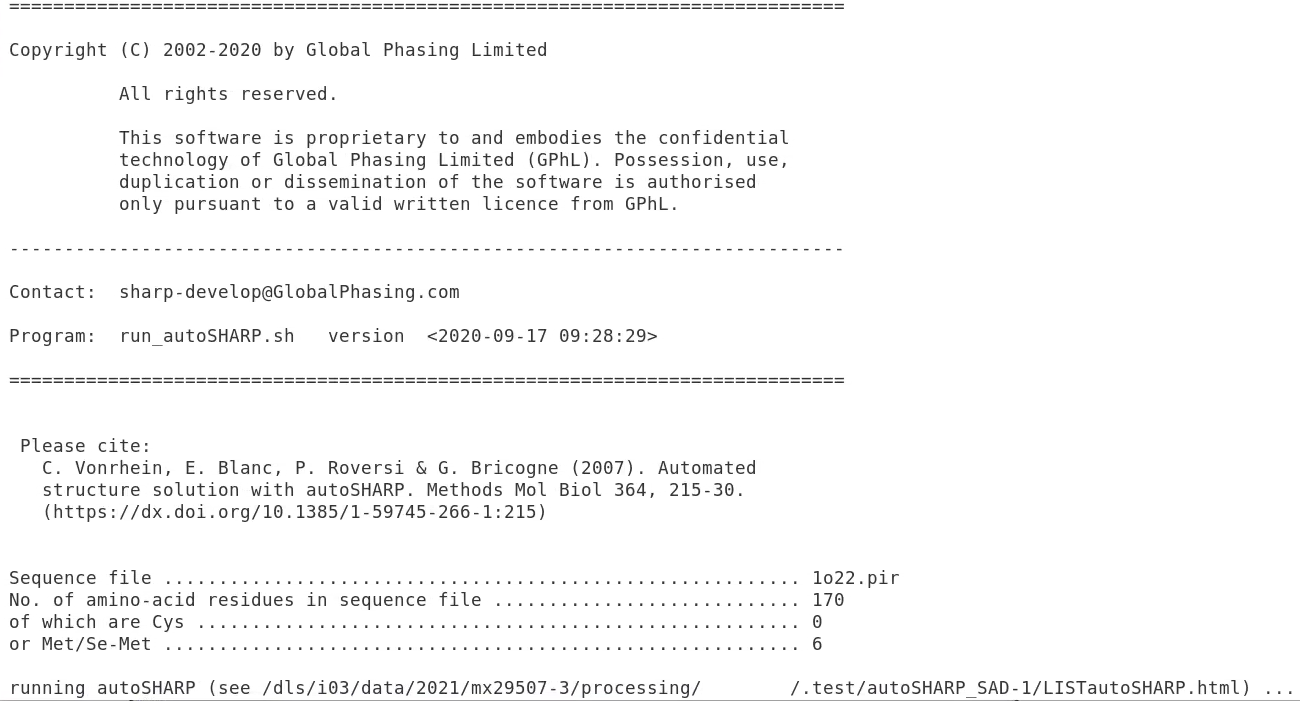
You should see something like this:
 |
This gives you some information about the input and also the full path of the main logfile (here /dls/i03/data/2021/mx29507-3/processing/FEDID/.test/autoSHARP_SAD-1/LISTautoSHARP.html. We can open this in firefox (of course with the path shown in your particular case) e.g. by typing
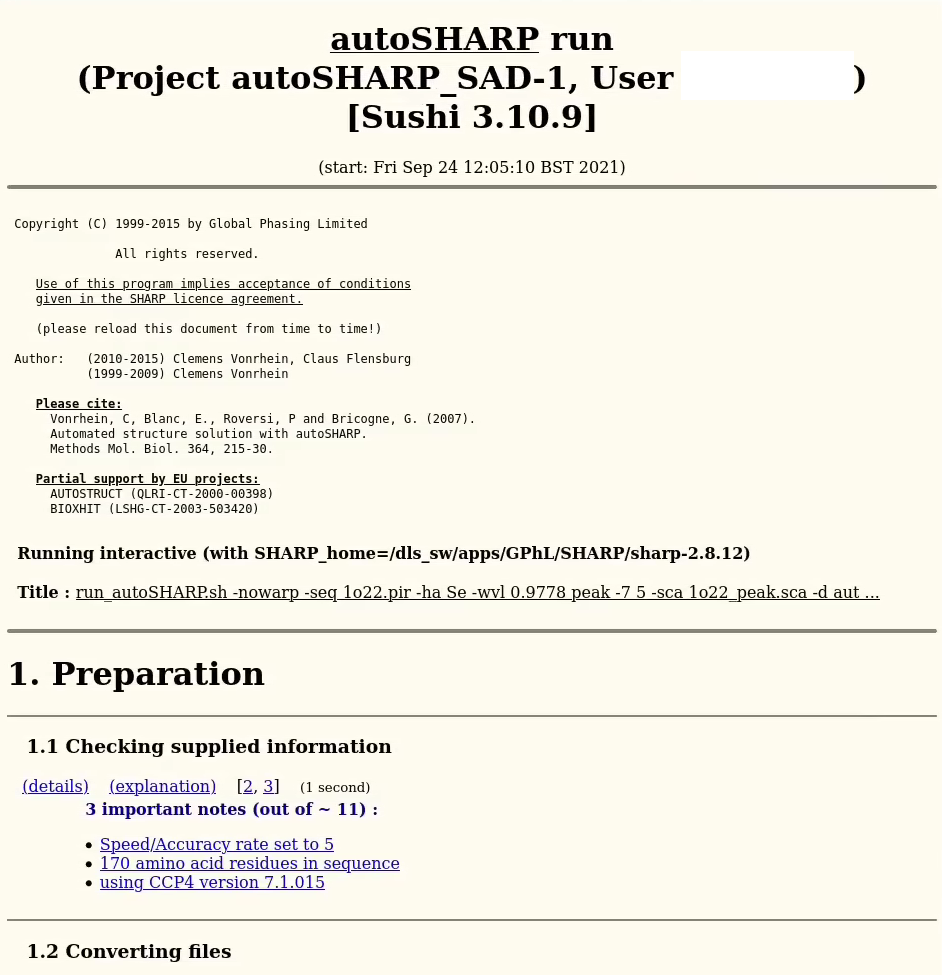
firefox /dls/i03/data/2021/mx29507-3/processing/FEDID/.test/autoSHARP_SAD-1/LISTautoSHARP.htmlin another terminal window. You should then see something like this:
 |
From time to time you need to reload that page (since there is new information written to the end of it by the running autoSHARP process). Just hit to reload icon or "Ctrl-R".